
Getting Started#
DKubeX Workspace gives you a personal, on-demand development environment running in the cluster. This guide covers logging in, finding your way around the Home dashboard, and creating your first workspace.
Logging In#
DKubeX Workspace uses your organization’s single sign-on (SSO). Navigate to the app URL and you are logged in automatically with your existing credentials — no separate account or password needed.
Home Dashboard#
After logging in, the Home page is your central hub. It shows two sections:
Your Workspaces — workspaces you own
Shared with You — workspaces others have shared with you
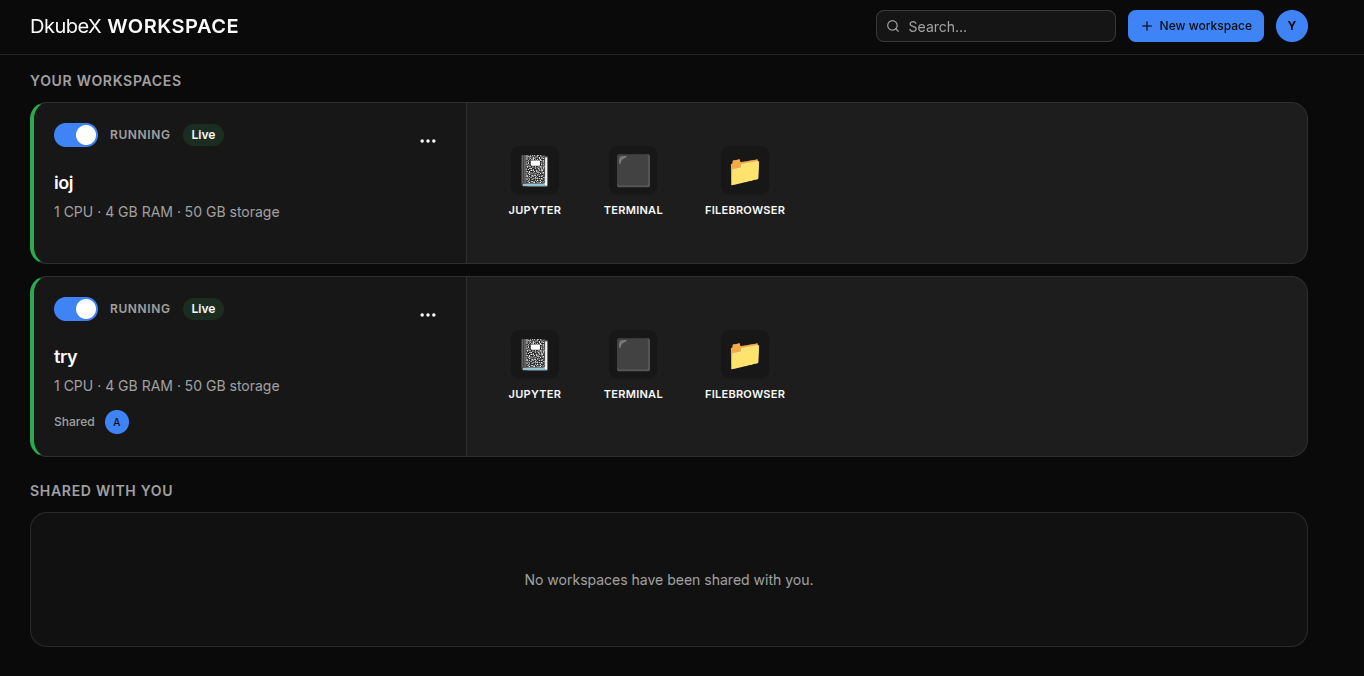
Each workspace card shows its name, current status, resource configuration, and quick-action buttons. Use the search bar at the top to filter by name, description, or owner.
Creating a Workspace#
The new workspace wizard walks you through four steps:
Step 1 — Details: Click New Workspace (or + New workspace) on the Home page, then enter a name for your workspace.
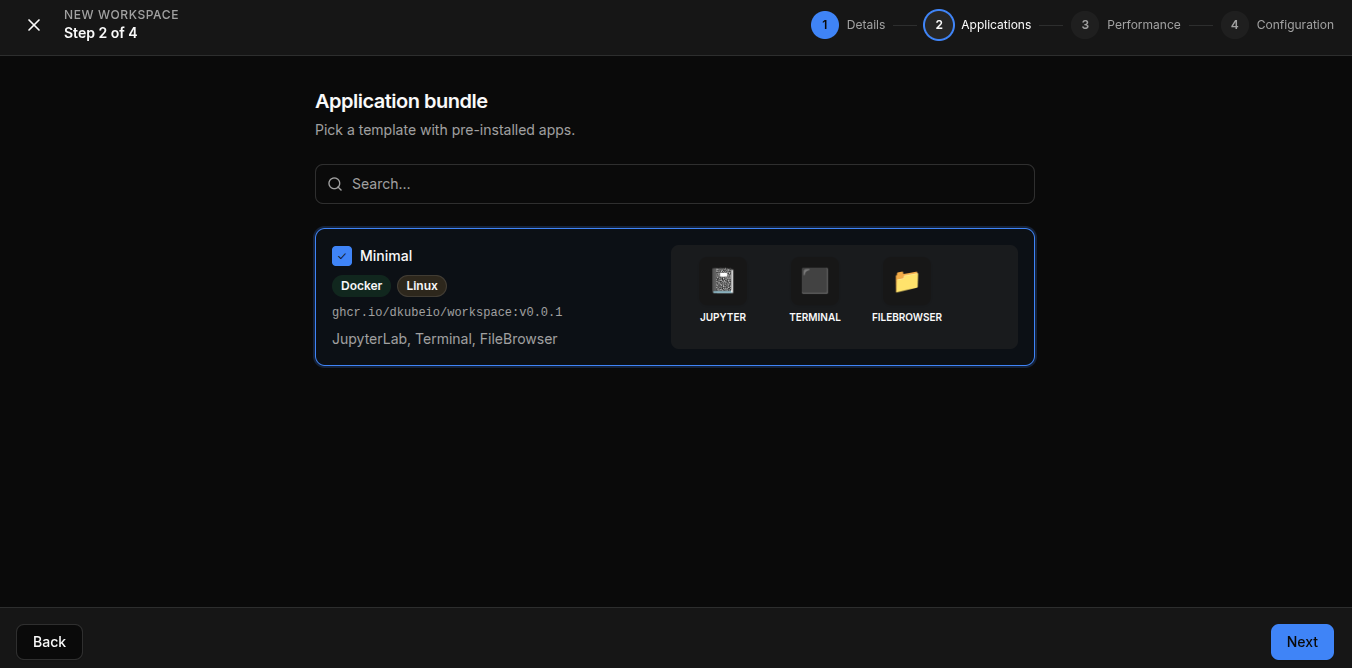
Step 2 — Applications: Pick an application bundle — a template that determines which apps come pre-installed (e.g., the Minimal bundle includes JupyterLab, Terminal, and FileBrowser).
Step 3 — Performance: Choose a compute profile that sets the CPU, GPU, and RAM allocated to your workspace.
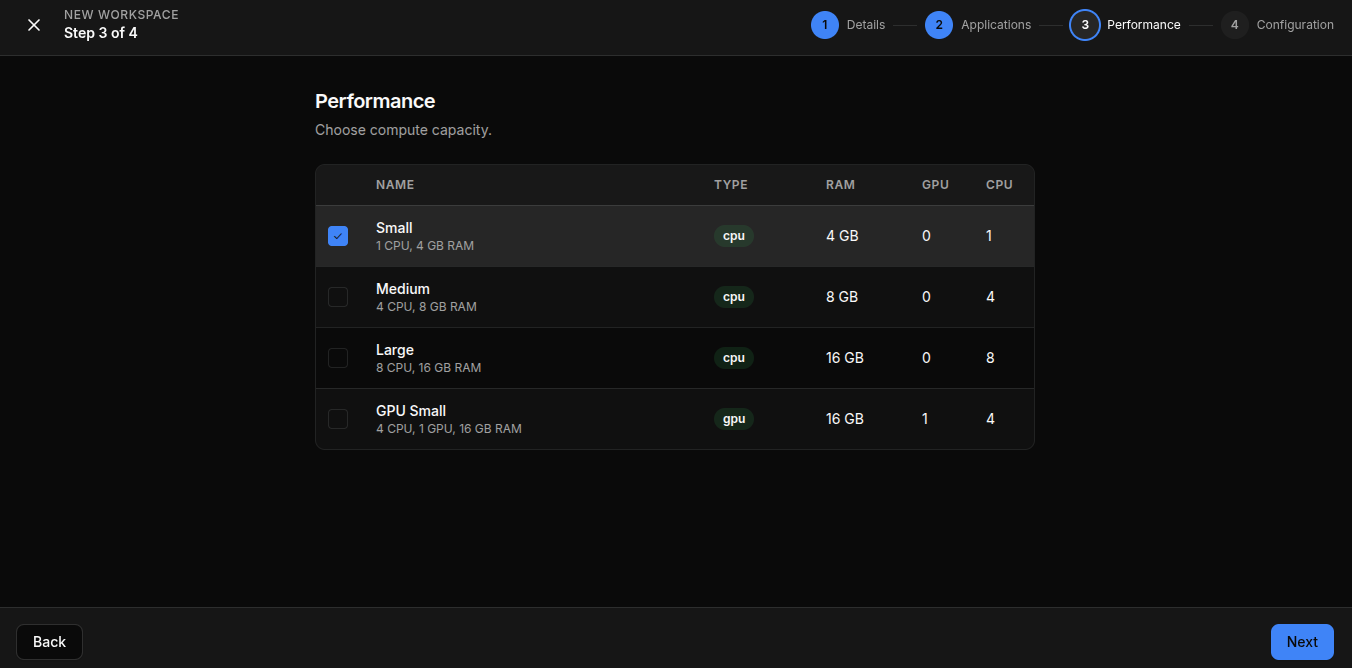
Profile |
CPU |
RAM |
GPU |
|---|---|---|---|
Small |
1 |
4 GB |
0 |
Medium |
4 |
8 GB |
0 |
Large |
8 |
16 GB |
0 |
GPU Small |
4 |
16 GB |
1 |
Step 4 — Configuration: Review and confirm any final settings, then click Create.
The workspace card will appear on the Home page with a Creating status. Once the pod is ready, the status changes to Running.
Tip: Start with a smaller compute profile and scale up later — you can edit resource settings without losing your data.
Next Steps#
Learn the full workspace lifecycle — statuses, start/stop, archive, and delete.
See how to use apps, manage files, and share your workspace.
Follow an end-to-end workflow.