
Getting Started#
DKubeX Workspace gives you a personal development environment running in the cluster. This guide covers logging in, installing your workspace, and opening your first app.
Logging In#
DKubeX uses your organization’s single sign-on (SSO). Navigate to the DKubeX URL and you are logged in automatically with your existing credentials — no separate account or password needed.
Installing Your Workspace#
Your workspace is an app in the App Store, and you install it yourself. There is no setup wizard.
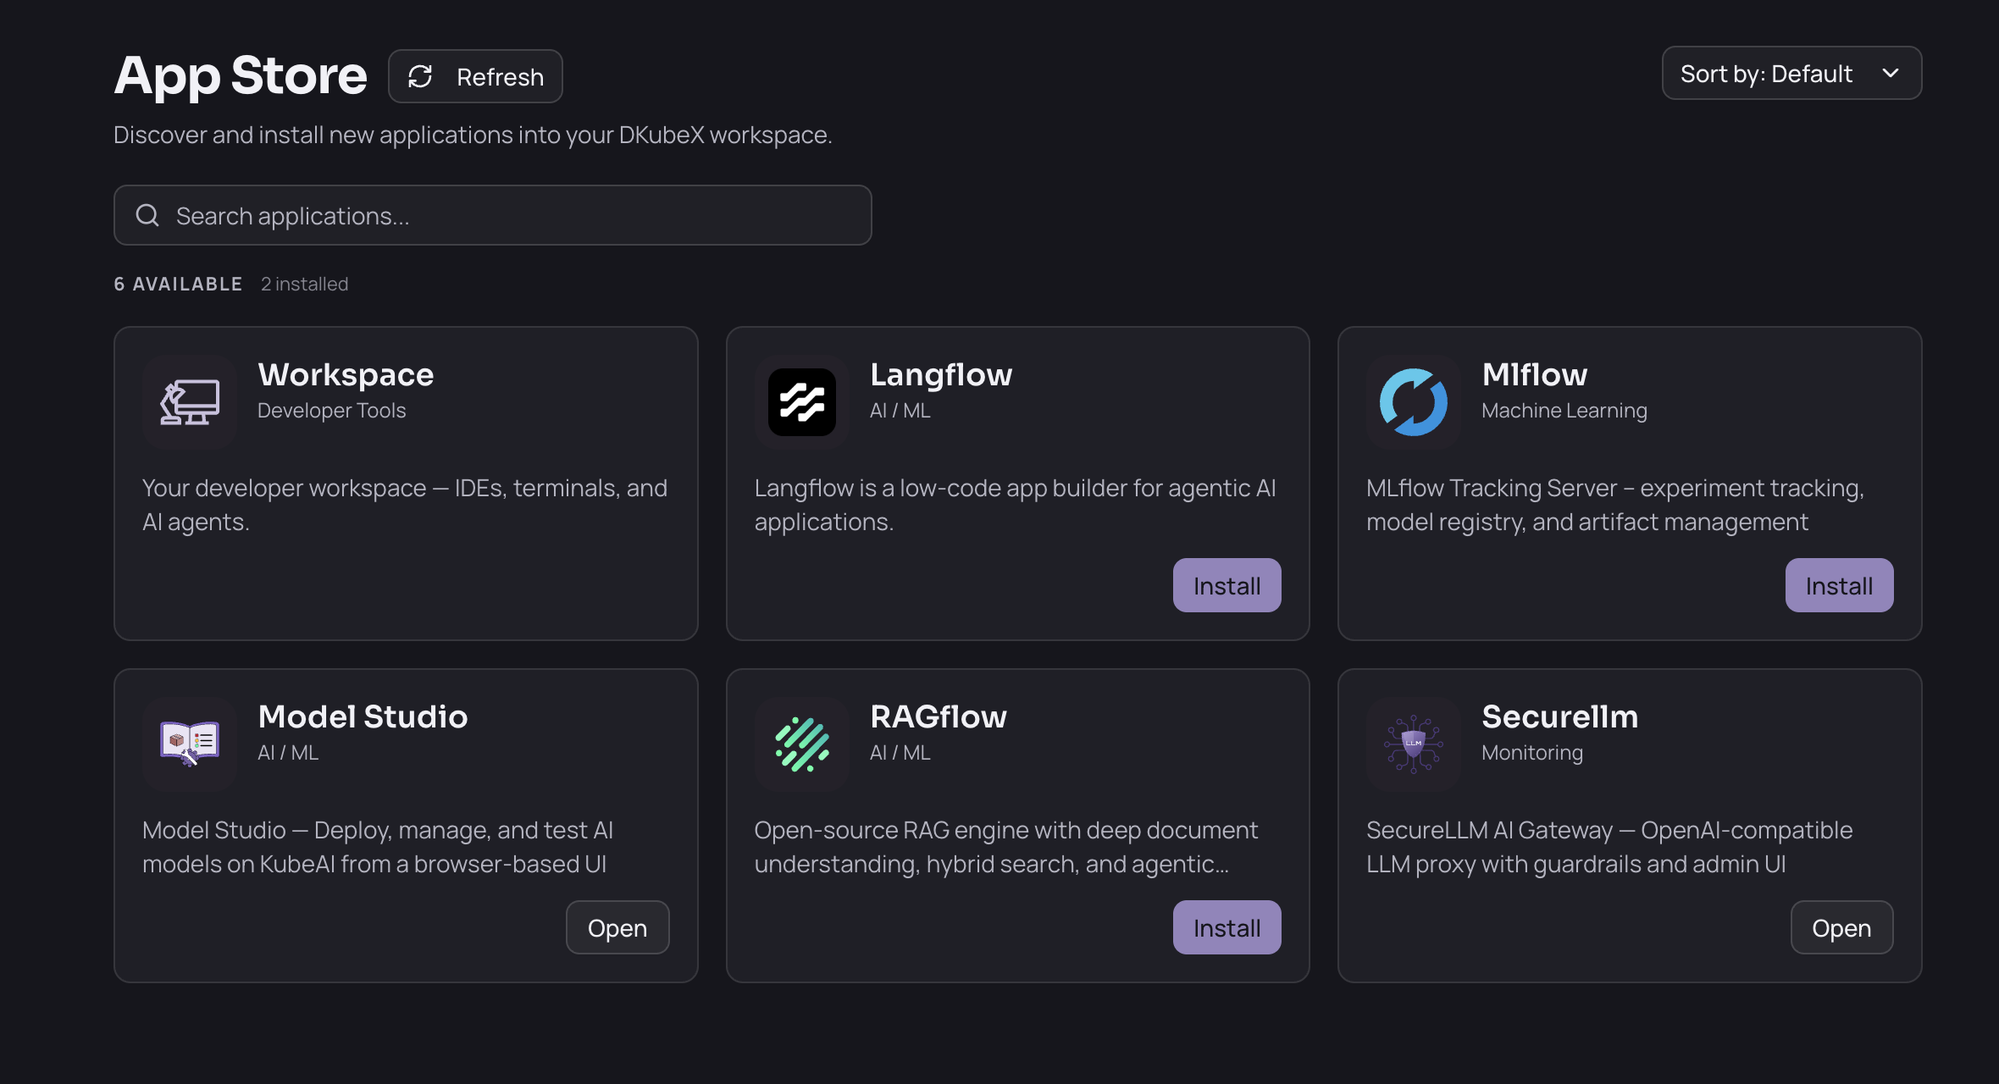
Click App Store in the sidebar.
Find the Workspace card and click Install.
The status changes to Provisioning while the environment is created.
When the status reaches Running, your workspace is ready.
Provisioning usually takes a minute or two on first install — the workspace image is large and has to be pulled onto the node.
Note: You get one workspace, and it is yours alone. Its CPU, memory and GPU allocation comes from defaults your administrator configures; there is nothing to choose during install and no compute-profile picker.
Opening Your First App#
Once the workspace is Running, the apps inside it appear as individual tiles in Apps — one tile per app, alongside any other applications you have access to.
Go to Apps.
Click the tile for the app you want — for example JupyterLab.
The app opens inside DKubeX. The first time you open it, it takes a few seconds to start and shows a loading screen; after that it opens immediately.
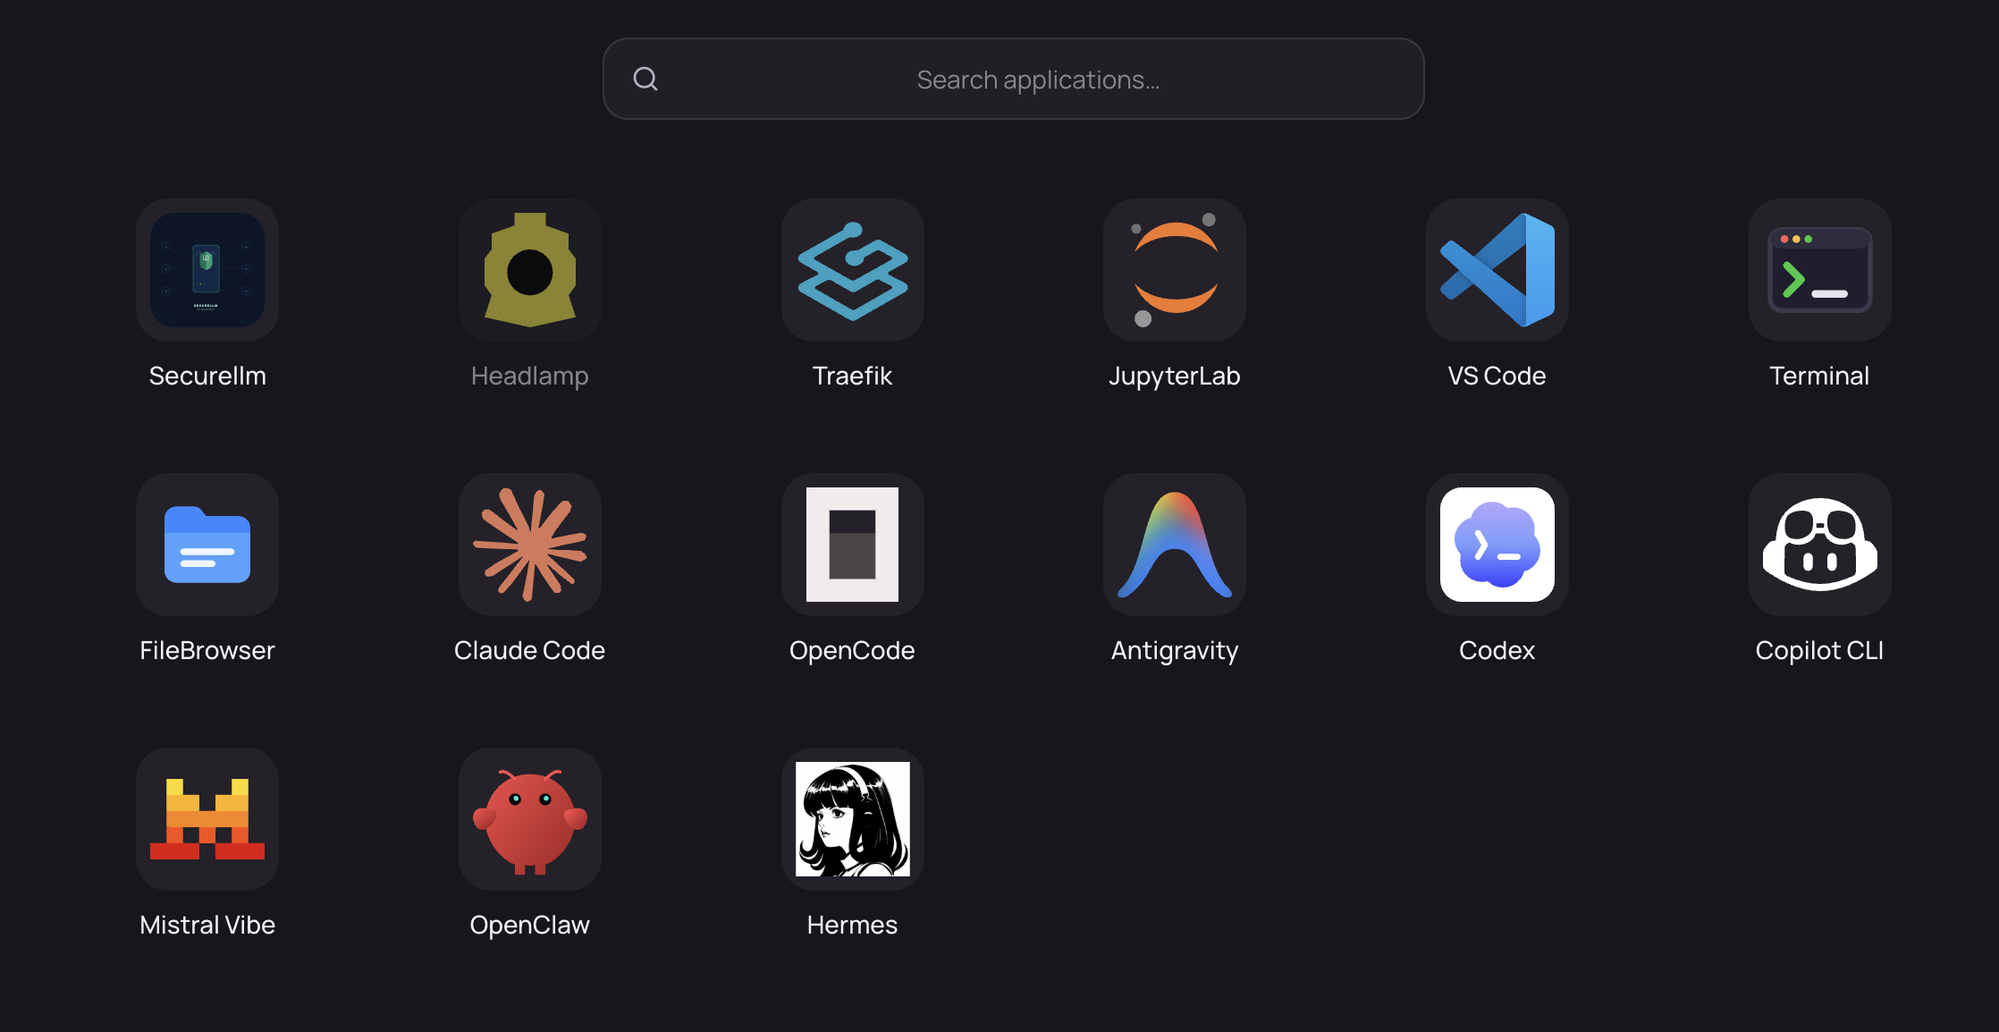
Each app keeps running while you switch between others, so you can move between JupyterLab, a terminal and an agent without losing your place.
Tip: App tiles only appear while your workspace is Running. If Apps shows no workspace apps, check your workspace status in the App Store first.
What You Get#
App |
What it is |
|---|---|
JupyterLab |
Notebooks and interactive Python |
VS Code |
code-server IDE in the browser |
Terminal |
Interactive bash shell |
FileBrowser |
Browse and manage your files |
Claude Code |
Anthropic’s agentic coding CLI |
OpenCode |
Open-source terminal coding agent |
Antigravity |
Google’s terminal coding agent ( |
Codex |
OpenAI’s coding agent CLI |
Copilot CLI |
GitHub Copilot in the terminal |
Mistral Vibe |
Mistral’s coding agent CLI |
OpenClaw |
Multi-model agent gateway and web UI |
Hermes |
Nous Research’s agent |
Pi |
Minimal, extensible coding agent harness |
The nine coding agents can be pointed at your organization’s models by picking a default model in your workspace settings, or left on their own sign-in so you can use a personal subscription — see Working with AI agents.
Next Steps#
See how to use apps, files, ports and SSH.
Start working with the AI agents.
Follow an end-to-end workflow.